
It’s one of the coolest scenes in The Flash (and DC film history), period. Towards the climax of the film, when the multiple versions of Barry Allen are traveling through the Speed Force in an attempt to change history, or not change it, we see various timelines bleeding in. And all of them are familiar to fans of the long history of shows and movies based on DC Comics characters. This DC Multiverse scene offers cameos of some of the most iconic actors to ever play members of the Justice League, including several who are no longer with us. And we are gonna break down all the DC multiverse cameos in The Flash right here.
Superman (George Reeves)
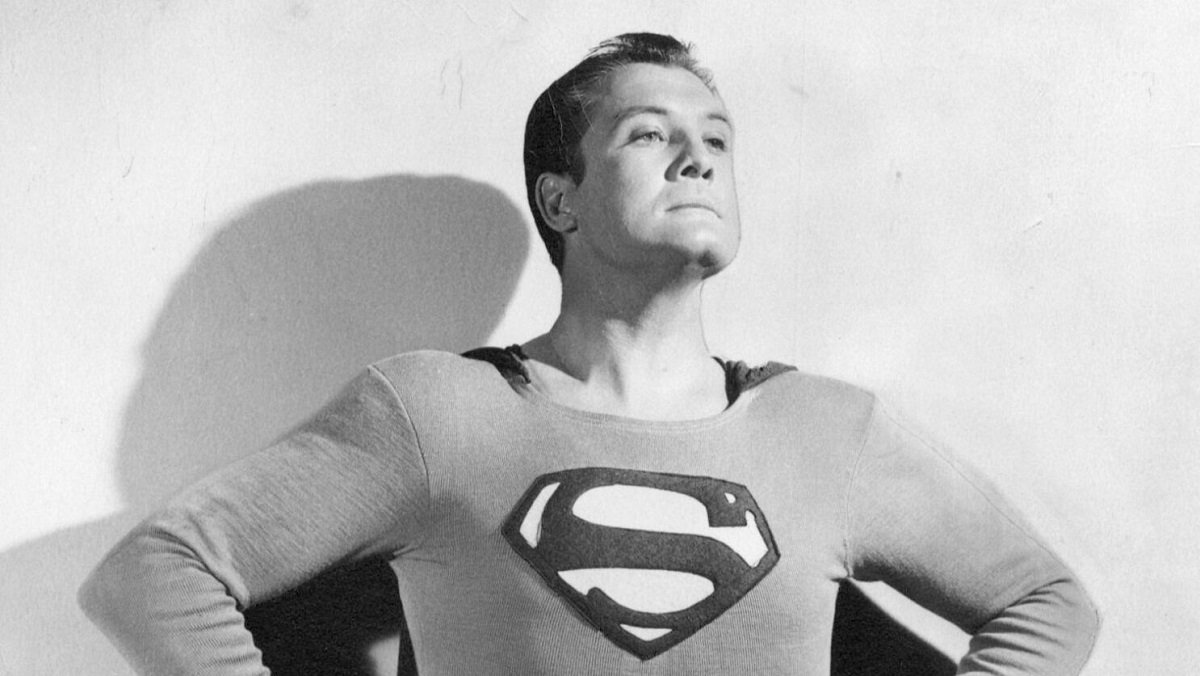
Although not the first actor to play the Man of Steel (that would be Kirk Alyn, who played Superman in the 1940s serials), George Reeves became an icon in The Adventures of Superman TV series, which ran from 1952-1958. A show that then ran for several decades after in syndication. Although several episodes were shot in color, they filmed most in black and white. And so, the DC Multiverse version we saw in The Flash of George Reeves’ Last Son of Krypton was seemingly in a black-and-white universe. We’re not sure if it’s logical, but it sure feels right.
The Flash, Jay Garrick

One of the more perplexing DC cameos in the Multiverse scene is the original Flash, Jay Garrick. As DC Comics fans are aware, he was the speedster of DC Comics’ Golden Age, operating from 1940-1952 in the comics. The Jay we see here was shot in black and white. Just like the George Reeves Superman. It looks like this was actor Teddy Sears, who played the fake Jay Garrick from the CW Flash series. He turned out to be the villainous Zoom. But why not John Wesley Shipp, since he was the real Jay Garrick in the show? Not to mention, the first live-action Flash, period. We don’t know the answer, but whoever the actor is, that is definitely the original Golden Age Flash running through the Multiverse.
Batman (Adam West)

If you blink you might miss him, but the original cinematic Batman, Adam West, appears in the Multiverse scene. And yes, thanks to the 1966 Batman movie, which was a spin-off of the TV series, that means West was the big-screen Caped Crusader over two decades before Michael Keaton. We didn’t notice Robin there with him, which is a shame, because it’s hard to imagine Batman ’66 without him. But the so-called “Bright Knight” is definitely there in his blue and grey tights, fighting the good fight.
Superman (Christopher Reeve)

For an entire generation, the late Christopher Reeve was the ultimate Superman. First appearing in Richard Donner’s 1978 Superman: The Movie, and its three subsequent sequels, Reeve’s portrayal is still thought of as one of the greatest superhero performances on screen. In his appearance in The Flash, it looks like he’s brought to life via archival footage and CGI. Back in the ‘80s and ‘90s, fans clamored for Reeve’s Superman and Keaton’s Batman to appear in a movie together. And now, that collaboration is sort of real.
Supergirl (Helen Slater)

Sasha Calle was not the first cinematic Maid of Might. No, that honor goes to actress Helen Slater, who played Kara Zor-El/Linda Lee in the very campy 1984 movie Supergirl. And later, Slater played the CW Kara’s adoptive mother on the TV series Supergirl. It was set in continuity with the Christopher Reeve Superman films. Although sadly, the pair never appeared on screen together…. until now, that is. Thanks to The Flash, the Kryptonian cousins fly together past the Metropolis skyline at last, thanks to some digital trickery.
Superman (Nicolas Cage)

In the biggest shocker of a cameo in The Flash, Nicolas Cage appears as Superman. And he’s fighting a giant spider too. As fans may know, they cast Nic Cage in Tim Burton’s Superman Lives way back in 1997. The film’s producer Jon Peters wanted his version of Superman to fight a giant spider. A giant spider he managed to work into his next film, Wild Wild Wet. Director Kevin Smith famously shared this story, which went viral. But that movie never happened. Now, at long last, Nic Cage gets to wear the cape and tights of the Man of Steel in The Flash. We can’t wait for the inevitable action figure.

Sadly, not every iconic live-action DC hero could make the final cut. Director Andy Muschietti admitted that there were plans for Marlon Brando’s Jor-El from Superman: The Movie, as well as some of the villains from Batman ’66, like the Joker and the Penguin. Perhaps the most brutal cuts were the removal of Lynda Carter’s Wonder Woman and Grant Gustin’s Flash. (The latter feels especially egregious, given the nine years he put into playing the role on TV.) Maybe we’ll see them in a future “Extended DC Multiverse Cut” of The Flash. After all, the world is no stranger to longer versions of DC films finding a way to happen.