Most of the famous X-Men villains, like Magneto or Apocalypse, are products of the ‘60s to the ‘90s. But the 21st century has provided us with one of the most lethal X-Men foes of all time, Cassandra Nova Xavier. Soon, The Crown’s Emma Corrin will portray her in the upcoming Deadpool & Wolverine. Here’s the intel on one of the X-Men’s most dangerous adversaries.
Cassandra Nova’s Marvel Comics First Appearance
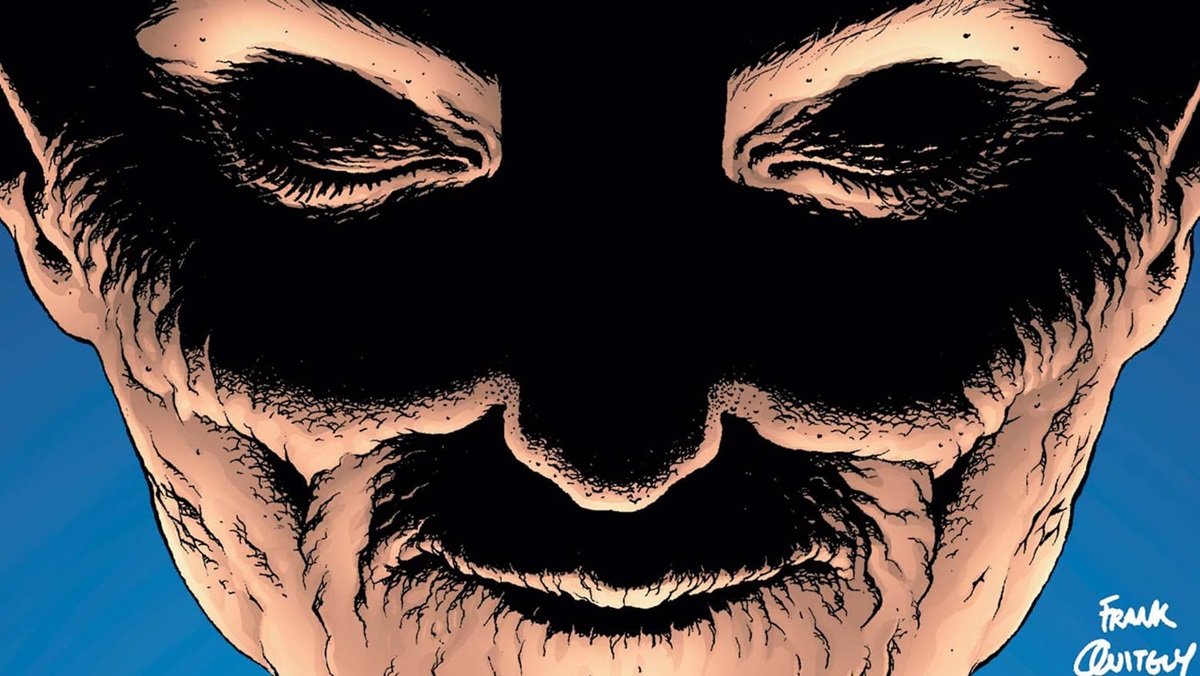
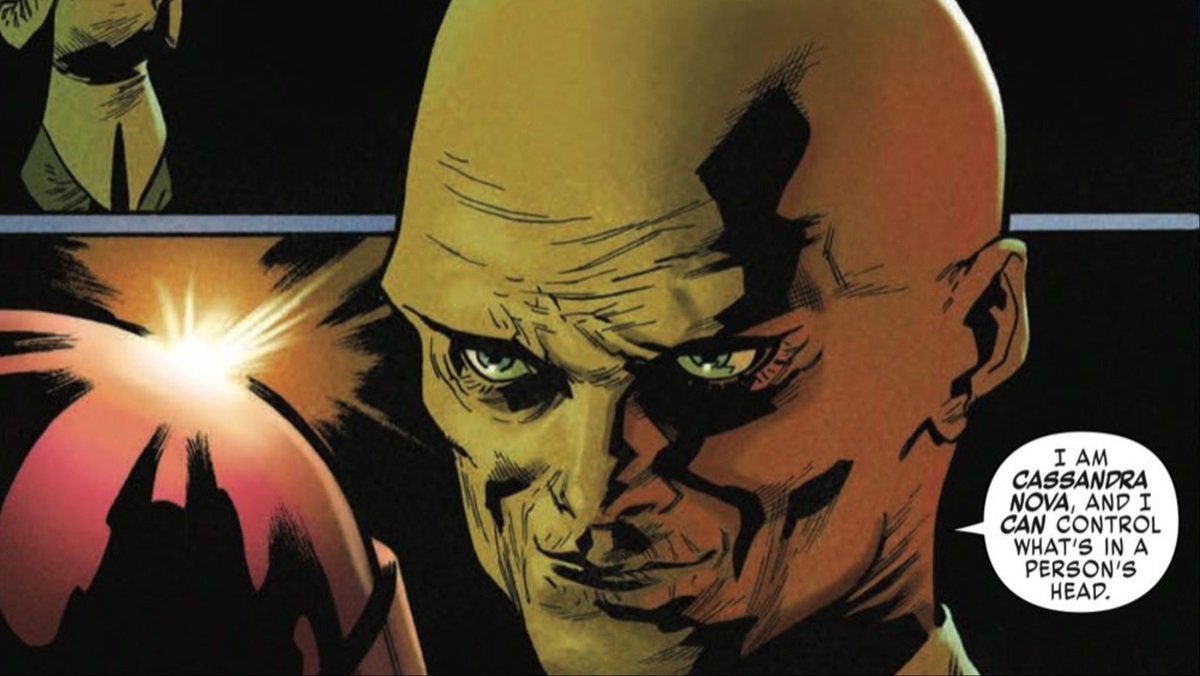
The genocidal maniac is the creation of writer Grant Morrison and artist Frank Quitely, introduced during their New X-Men run in the early 2000s. The story that introduced her, “E is For Extinction,” was a game-changer for the X-Men.” First appearing in 2001’s New X-Men #114, she’s since popped up several other times. Usually her appearance makes life hell for the mutant race in each instance.
Cassandra Nova’s Origin Story, and Charles Xavier
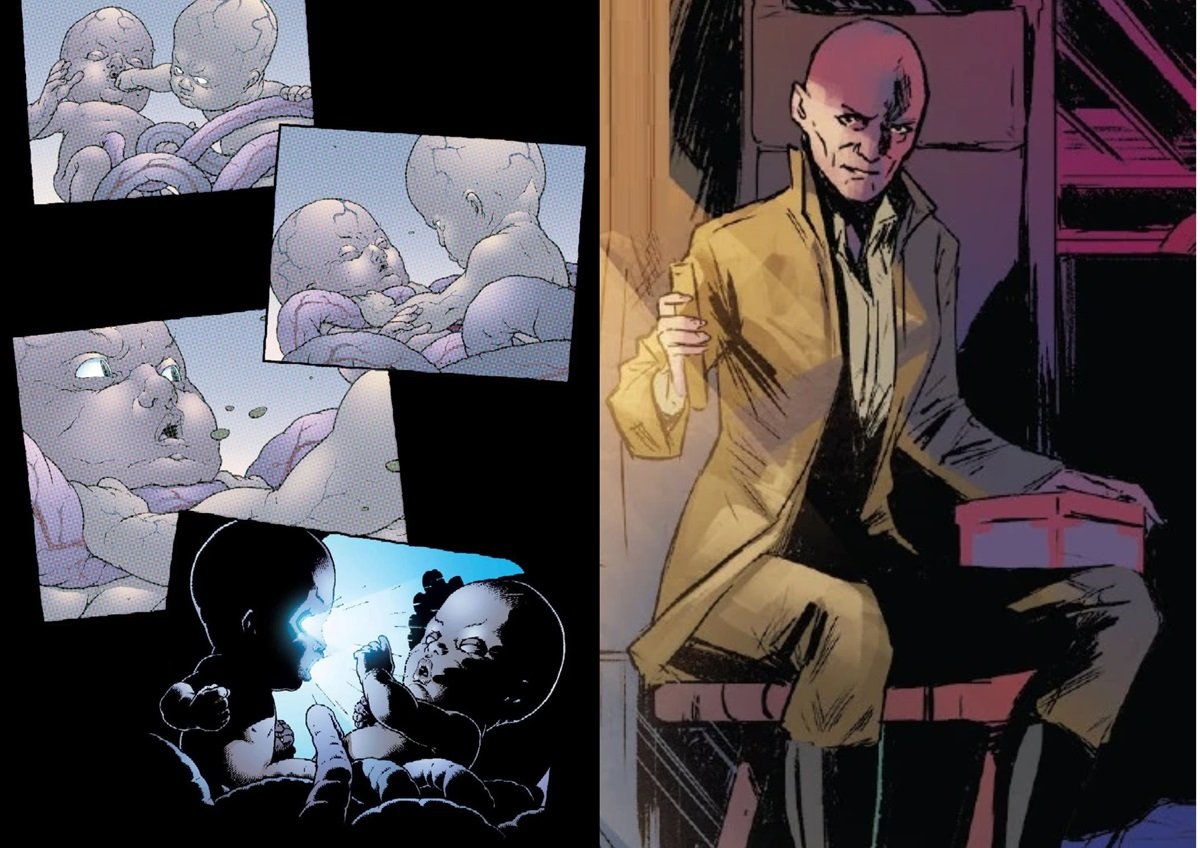
Cassandra Nova is that tried and true villain archetype of fiction — the evil twin. But in Grant Morrison’s imagination, “evil twin” has an even darker meaning. Cassandra is what the alien Shi’ar Empire calls a Mummudrai. A Mummudrai is something the Shi’ar believe every living being in the universe has, an astral “shadow self” without form. Cassandra began existence in the same womb as Charles Xavier, but without a corporeal body. She then copied her twin brother’s DNA and essentially became his physical twin, and attempted to strangle her brother in the womb with their mother’s umbilical cord. But the fetus of Charles uses his powers for the first time with a psychic blast, which causes her to be stillborn.
However, the Mummudrai’s essence survived as “chaotic cellular matter.” That blob of cells clung to a sewer wall for years and years, slowly regrowing its physical form, rebuilding itself, and copying human traits. One thing fueled this malevolent being, and that was revenge on her twin brother Charles Xavier, and everything he held dear. Particularly his dream for mutant and human coexistence. Fully grown, Cassandra activated a Sentinel Master Mold, which unleashed the Homo-superior-hunting robots on the mutant nation of Genosha. There, it murdered 16 million mutants in one fell swoop.
Cassandra Nova and the X-Men
After the Genoshan genocide, Cassandra fought the X-Men, and they thought they defeated her. Actually, she switched minds with her brother Charles Xavier, and when he was in her body, she allowed him to be shot and seemingly killed. After months of posing as Charles and creating chaos, eventually Xavier reasserted control of his old body, thanks to Jean Grey storing pieces of his psyche in every mind on Earth, and then putting them back into his original body, forcing her out. Cassandra’s essence then entered a newly created body with a synthetic brain, now locked into a self-repeating program for all time. Or so they thought.
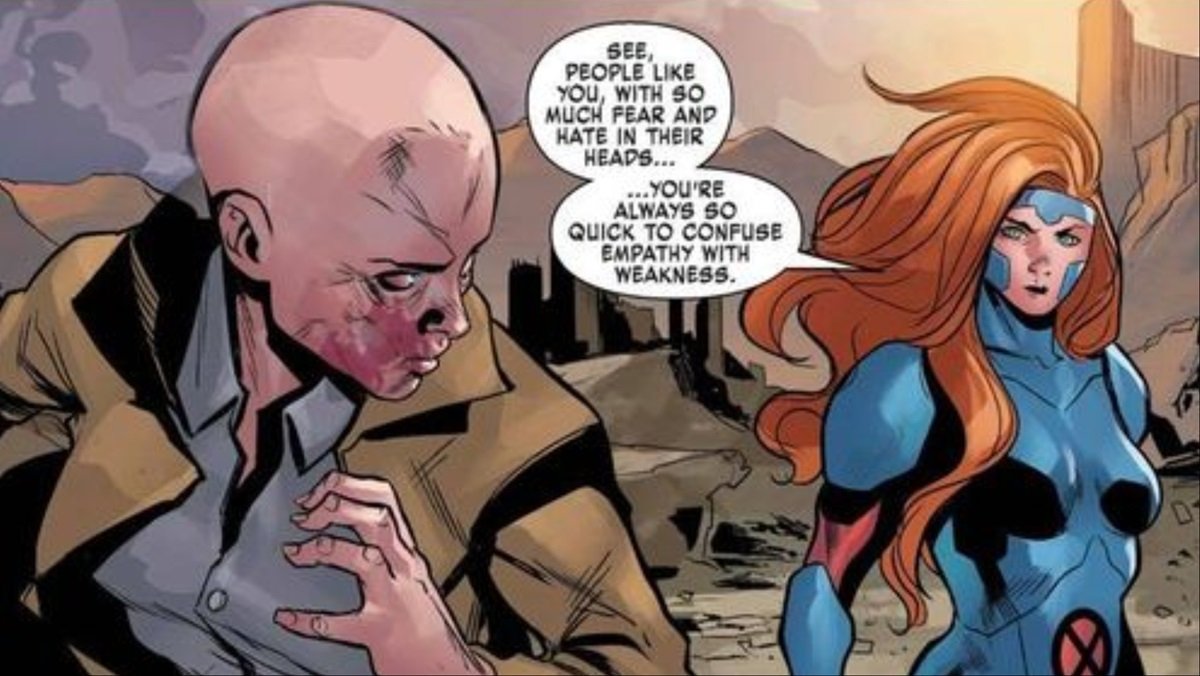
Cassandra Nova was once thought to have been released from her mental prison a few years later in Astonishing X-Men, but she turned out to be a mental projection by Emma Frost. Eventually, she escaped her imprisonment by hopping from one host body to another. Once free, she used Sentinel tech implanted in baseline humans to kill mutants. A human with this Sentinel tech in them would go wild with rage at the very sight of a mutant. Jean Grey eventually used her considerable psionic ability to enter her mind and thwart her plans. She did this by making her feel human empathy for the first time, which caused her to surrender.
Cassandra Nova in Marvel Comic’s X-Men Spin-off, Mauraders

When the mutant community founded their own nation on the living island of Krakoa, Cassandra Nova was moved there. Hoping she’d reformed, she joined Kate Pryde’s Marauders, a sort of corsair group of X-Men on the high seas. Pryde and Emma Frost never believed Nova had reformed, and still held much animosity towards her for the genocide of Genosha. Especially Emma Frost, who was the sole survivor. At one point, the Marauders found themselves stranded over two billion years in the past on a time travel mission. Emma and Kate decided to leave Cassandra Nova stranded there as payback for her heinous acts. What became of her after that remains a mystery. We seriously doubt it’s the last we’ve seen of her in the pages of the comics.
Cassandra Nova’s Powers
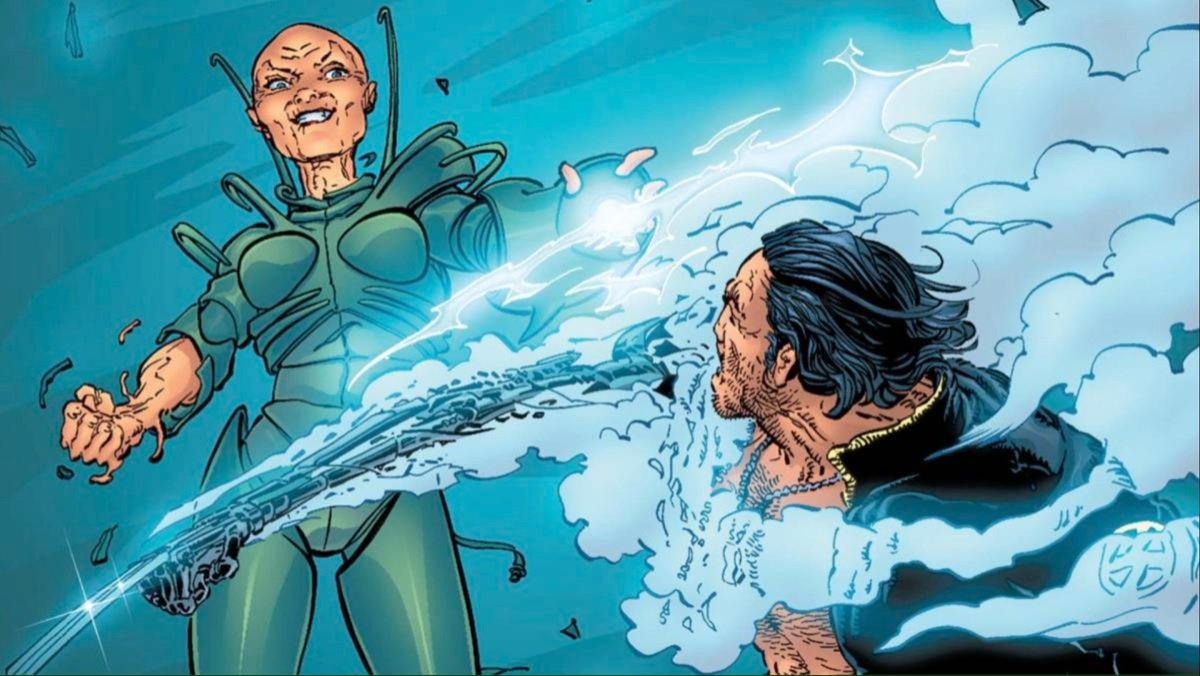
Cassandra Nova is one of the most powerful adversaries the X-Men have ever faced. As a Mummudrai, she mimicked all of Charles Xavier’s powers, including his telepathy, but also, all his latent mutant powers. Powers that were dormant within his DNA. Cassandra can do things he never could, like telekinesis, as well as phase through solid matter. She has regenerative capabilities comparable to those of Wolverine’s. She can also even evolve latent mutants to their true potential with a thought.
Emma Corrin Plays Cassandra Nova in Deadpool & Wolverine
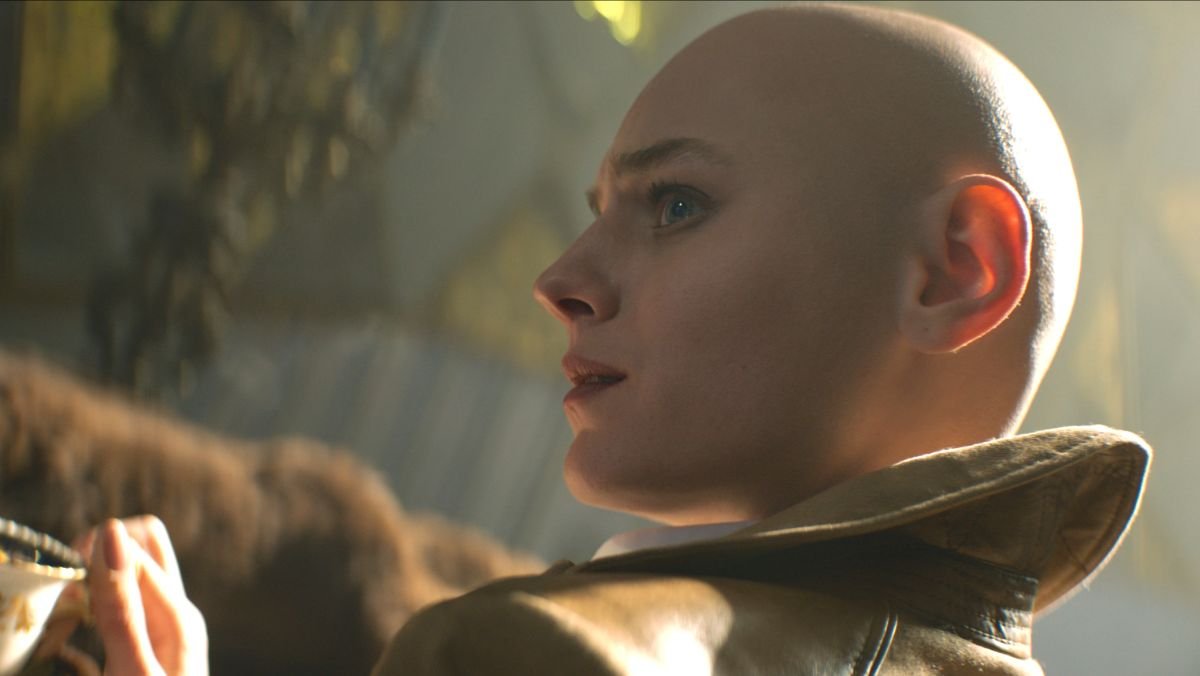
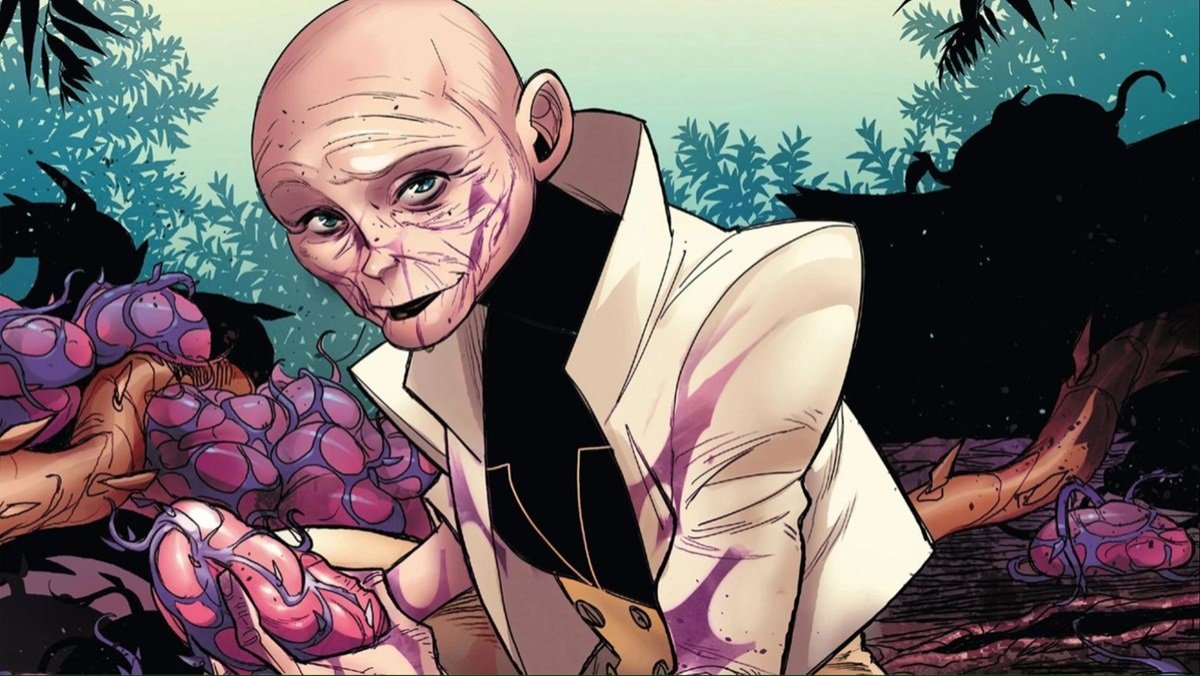
So what role will Cassandra Nova play in Deadpool & Wolverine? It honestly depends on how much of her comic origins they adhere to in this film. She could just be Charles Xavier’s evil twin, without the cosmic doppelganger stuff. Cassandra Nova might even be an alt-universe version of Charles himself, keeping with the multiverse aspects of the film. She certainly doesn’t look as deformed as she does in the comics. We know a lot of the action in the film takes place in the Void, the reality of pruned timelines that’s the TVA’s dumpster for deleted worlds.
Perhaps she’s used her vast psionic powers to set herself up as the ruler of the Void after being exiled there? If the TVA is no longer pruning timelines after the events of Loki season 2, it may be ripe for someone to take over. She walks out of Ant-Man’s skull, surrounded by what looks like her minions. It suggests she rules in this desolate place. She clearly has all of her psychic powers intact, as she’s able to control Wolverine like a puppet. She certainly has the power levels to be the film’s “Big Bad,” and then some. We’ll see when Deadpool & Wolverine hits in July.